A musty smell in your home may be caused by more than just old age. Wet walls are often the culprit.
If you notice damp or wet walls in your home, immediate action should be taken to remedy the situation. Failure to do so may result in damaged walls or black mould.
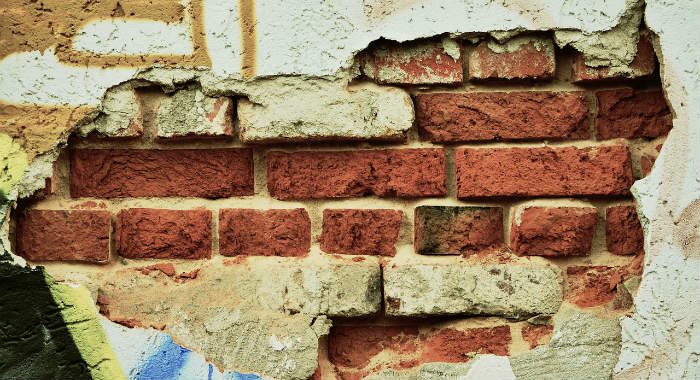
Damp walls are caused by an array of problems. Some of the most common culprits include:
- Penetrating damp, often caused by faulty roofing, damaged downpipes, or leaky gutters.
- Rising damp, which is noted by dark patches on the walls that are damp to the touch.
- Condensation, often caused by poor ventilation.
- Pipe leaks.
- Foundation damage.
If any of these problems are noted, they should be addressed as soon as possible to stop further damage. Consider having your roof, plumbing, boiler, and foundation inspected on an annual basis to catch any problems before they get worse.
No matter the reason for damp walls, they need to be repaired right away. Of course, rather than wait until damage happens, damp proofing your walls beforehand can save you a lot of money and headaches in the future.
As our house has solid walls built in the 1850’s, we’ve experienced our fair share of damp walls. This articles draws on some of our experience to help you deal with your damp wall problems.

Damp Proof Membrane
You can protect a wall that is susceptible to wetness by installing a damp proof membrane. This highly flexible material is fashioned out of
The material is designed to prevent damp walls by allowing moisture to evaporate in small, egg-shaped cavities.
Securing a damp proof membrane is relatively simple. Remove any plaster from the wall. Cut the membrane to the correct size. Use a drill to secure the membrane on the wall and to ensure a tight fit. The membrane should then be adhered in place using specially designed fixing plugs.
Despite the Public Health Act 1875 making damp proof membranes compulsory in new homes, they weren’t as popular prior to the 1930s (Douglas, 1998). So if you have an older home, you may have to do check your home if you haven’t already.
Damp Proof & Anti-Condensation Paints

Damp proof paints are very popular with those who are looking for an easy way to prevent moisture in a humid room. The paint should be applied directly to the background substrate.
Grzebielec and Rusowicz (2011) discussed how anti-condensation coatings work in detail. In short, they moisture and release them under certain conditions.
Once it dries, cover the paint with plaster. This is the most effective way to keep moisture at bay with paint.
If you decide to paint directly over plaster with damp proof paint, you will still get some protection. However, be aware that the surface degrades over time. Damp proof paint should never be applied to surfaces that have been damaged by salt, as it will not properly adhere.
Our 5 Recommended Damp Seal Paints:
| Our Rating | Product | Name | Typical Price | Performance | Value For Money | View On Amazon |
|---|---|---|---|---|---|---|
| #1 | 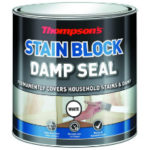 | £11 per litre | Excellent | Outstanding | Check Stock | |
| #2 |  | Polycell One Coat Damp Seal | £17 per litre | Excellent | Good | Check Stock |
| #3 |  | Polar Anti Damp Paint | £23 per litre | Excellent | Average | Check Stock |
| #4 |  | Ronseal One Coat Damp Seal | £11 per litre | Good | Outstanding | Check Stock |
| #5 | 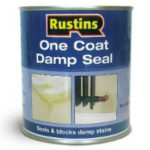 | Rustins One Coat Damp Seal | £31 per litre | Outstanding | Poor | Check Stock |
If your damp issues are caused more by internal condensation, using anti-condensation paint could be a good option.
It certainly was for us. Having an old house with solid uninsulated walls meant that whenever our house cooled (which was often), condensation would form. Over time this led to damp spots forming.
While we did what we could to improve ventilation, we also decided when we redecorated the room that using anti-condensation paint was a good idea.
I’ll be honest, we were very sceptical about them, but it was amazing how much warmer the wall felt after just one coat. As the wall felt warmer, less condensation should form and therefore fewer issues with mould and damp.
You can read about our experiences with anti-condensation paint if you think it may be a good solution for you.
As an alternative, you should also consider thermal wallpaper. This is more expensive and trickier to install than anti-condensation paint, but it is thicker and more effective.
It works by insulating your wall in a thin blanket, doing just enough to prevent condensation and mould forming. You can see how we used it in one of our rooms in our Wallrock thermal liner review.
Improved Ventilation
Speaking of condensation, if your damp walls are mostly caused by high internal moisture levels, you’ll need to look at improving the ventilation of your home.
This could be as simple as leaving a window open a little, or making use of the trickle vents that come with most new UPVC windows.
Another traditional ventilation method is the wall base ventilation system. This system uses channels tat introduces dry air which promotes evaporation of the trapped moisture (Torres, 2013).
Unfortunately, as homeowners we have spent a lot of time blocking off all sources of drafts in our homes, as a result, we love the ability for air to properly circulate and refresh.
We often add to our home’s moisture levels by drying clothes, having baths and showers, and yes, even breathing. So, without good ventilation, you can soon find moisture levels rising and that can lead to more condensation and ultimately mould and damp issues.
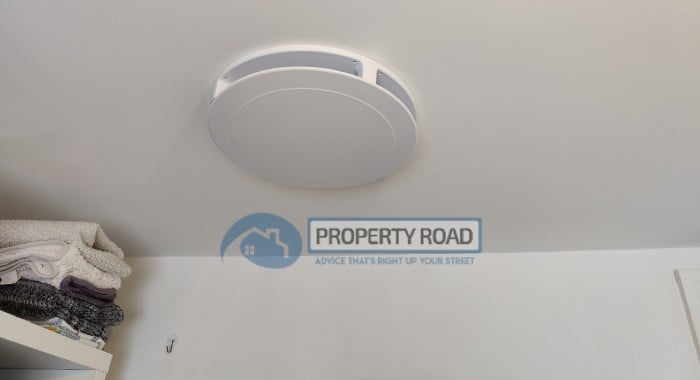
A good option to combat this is to install a positive pressure ventilation system. This is what the previous owners of our home did, and it works a treat, keeping our in-house humidity levels to a minimum.
It works by drawing in dry air from our loft space, filtering it, then pumping it into the house. This increases the air pressure in the house, forcing out the moist air through any remaining gaps (such as keyholes, extractor fans, etc.).
Of course, this won’t help with more serious damp issues like rising or penetrating damp, but if you have issues caused by poor ventilation, or you just want to improve the quality of the air in your home, it’s a good solution.
Tanking Slurry
For walls that are made from bricks, masonry, or concrete, a layer of tanking slurry may be used to prevent moisture. The slurry creates a fully waterproof layer when it is applied to masonry.
Prime the surface with a salt inhibitor. Two coats of tanking slurry should then be applied to the wall. Allow 4-8 hours of drying time between each coat. Tanking slurry is very effective in basements, but it can also be used on other internal walls.
The previous owners of our home had the floor of our living room coated in tanking slurry. It was a concrete floor that actually sat a few inches below the external ground level. Naturally, it was prone to damp issues.
When they changed the carpet in the room, they took the opportunity to apply tanking slurry. The whole treatment also came with a 20-year guarantee that was passed on to us as the new homeowners. So far (touch wood…. or rather, concrete!) we haven’t had any damp issues.
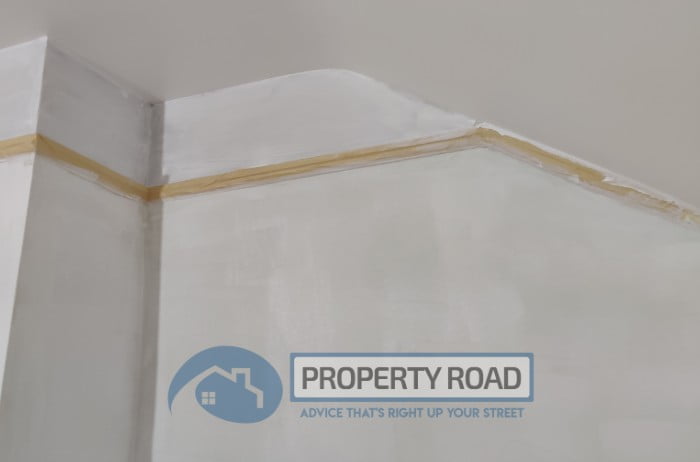
Re-plastering
If the damage to the wall is minor, it may be possible to damp proof the area by removing the plaster and applying new render. Use a water-resistant render to ensure the area is protected.
Any moisture that is left in the walls will dry out naturally, and the finish will stay dry.
Special Situations
While most damp walls are easily remedied with one of the stated procedures, there are some special situations which require more care, including:
- Cavity Walls
- Below Ground Walls
Preventing Moisture

It’s possible to prevent damp walls in many instances. Homeowners should routinely check areas around their home where moisture is the most common, including:
- Ensure roof is in good working order
- Check downspouts, and make sure they are flowing away from the foundation
- Keep the property well-maintained
- Remove any large plants that are growing too close to the property, as the roots may damage the foundation or pipes
- Monitor for signs of rising damp
- Improve the ventilation of your home to reduce condensation
- Check the sealing around doors and windows
- Keep vegetation away from masonry and render
- Check boiler, taps, and pipes for leaks
Damp walls can cause many problems in a home. If that’s not enough for you to act, a study by Wilson et al. (2020) showed that an improved ventilation in a multifamily home had many benefits. For one, there were less musty odours and reduced cockroach sightings. Carbon dioxide and formaldehyde levels also dropped.
As soon as dampness is suspected, it’s time to determine the source and repair the walls.
Dry out the walls as soon as possible and damp proof them using one of the recommended methods to ensure your home stays as dry as possible.
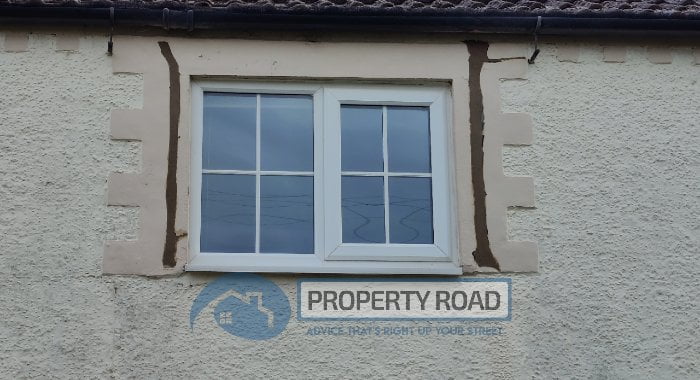
This is what we did in our house. We actually had several issues causing damp spots to appear. The easiest to resolve was the cracked sealant around our windows. We only had to buy a new tube of sealant, peel off the old, then apply the new.
However, we had to get a builder in to address several other issues including a chimney that needed repointing, ridge tiles that needed replacing, and several cracks in our wall render that needed grinding out and refilling.
While it took a bit of effort, it didn’t take long for the damp patches inside to start receding, though it’s worth pointing out you might need to be patient. Some of ours took a whole 6-12 months to dry out completely!